The process of translating an application built with Vue 3 is quite simple and straightforward.
To demonstrate how this is possible, we will first create a Vue project using the yarn package manager and the Vite build tool. However, you can use the package manager and build tool of your choice without any issues; just make sure to read the documentation for the tools.
To create the project, first navigate to the directory where you want to save it. Then use the following command to install Vite and receive the prompts for project creation:

The CLI will ask you to name the project. Afterward, press Enter and choose the desired framework, which is Vue in this case. Finally, choose JavaScript as the language. Once the project is created, use the yarn command to install the dependencies and run the project to verify that everything is working correctly.
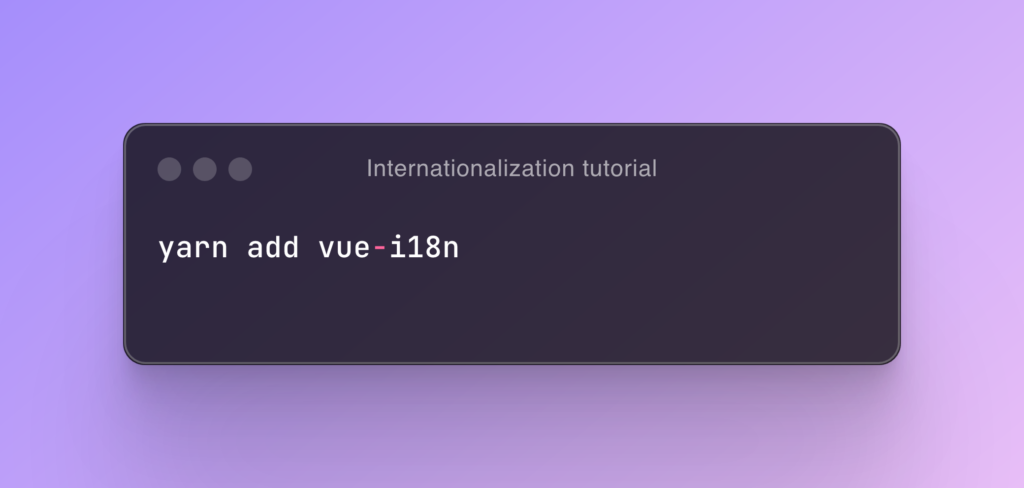
Now install the vue-i18n package, which will allow us to have a global translation variable in the application. Note that yarn installs the latest version compatible with Vue 3, while npm requires you to specify the package version. Be sure to check the package documentation to find the appropriate version. In my case, using Vue version 3.2.37, the installed package version was 9.2.2.
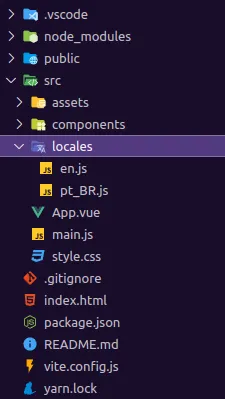
With that done, we can start the internationalization of our app. First, create a folder in the project’s src directory. I’ll name it “locales” as a good practice since this is where our translation files will be stored. Now we’ll create two translation files, one for Portuguese and another for English, named pt_br.js and en.js respectively. At this point, the project structure should look something like this:
The translation files consist of objects that we export as constants. As an example, let’s write the translation for the classic “Hello World” in both Portuguese and English. The files pt_br.js and en.js should look like this:
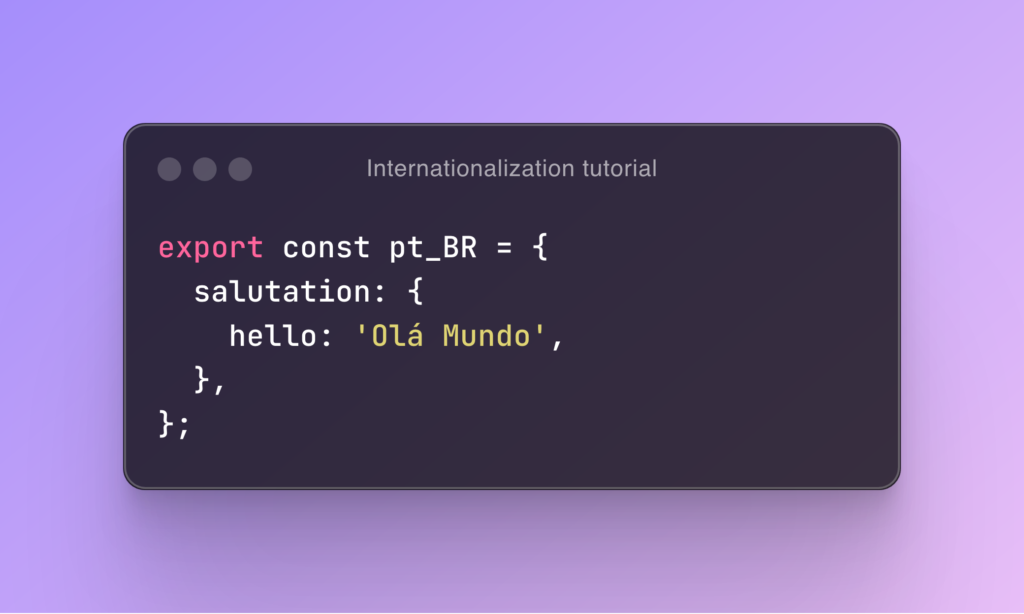
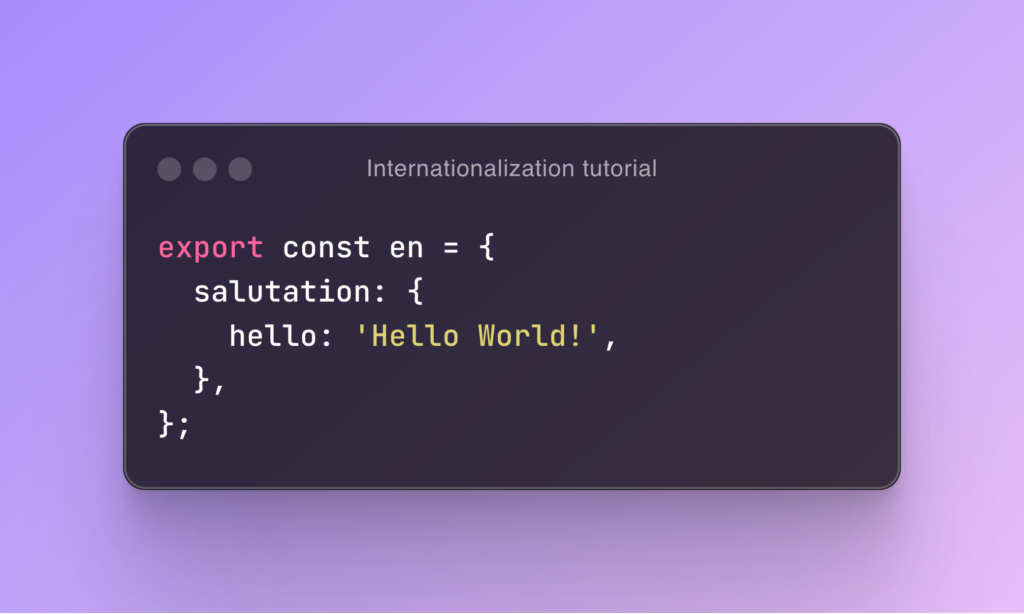
Note that we can have an n-level hierarchy of parameters to keep our translation files as organized as possible.
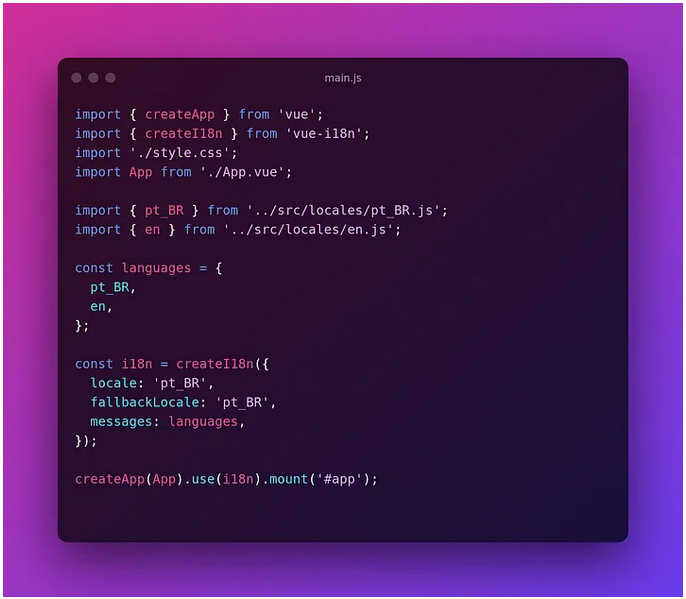
Now we just need to configure the global translation variable for use in the HTML. To do this, open main.js and import the createI18n function from the vue-i18n package. Then import the translation files and create a languages object. After that, we use the createI18n function to create our translation constant and enable the use of the global variable. The locale parameter configures the default language of the app, while fallbackLocale sets the language that will load if a translation is not found. In the end, your main.js should look like this:
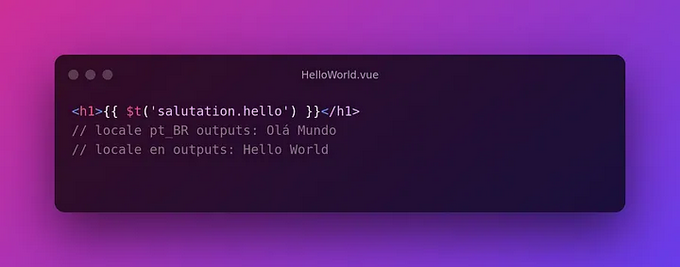
Finally, we can use the translations in our app. To do this, we use the global translation variable in the form of $t(‘param’), where param is the path to the translation in our translation file. Thus, when we inject the variable into the HTML, it will look something like this:
And with that, we have implemented internationalization in a Vue 3 app in a simple way!
Part 2 – Language Switcher with Vue 3 and VueI18N
Bonus for portuguese speakers
If you happen to speak portuguese, this tutorial is also available in video form!
Pingback: Language Switcher with Vue 3 and VueI18N - techtorque.tech