To follow this tutorial, it is recommended that you have either completed the previous tutorial or have your app configured in a similar way. Here’s the link to the previous tutorial where we set up the app:
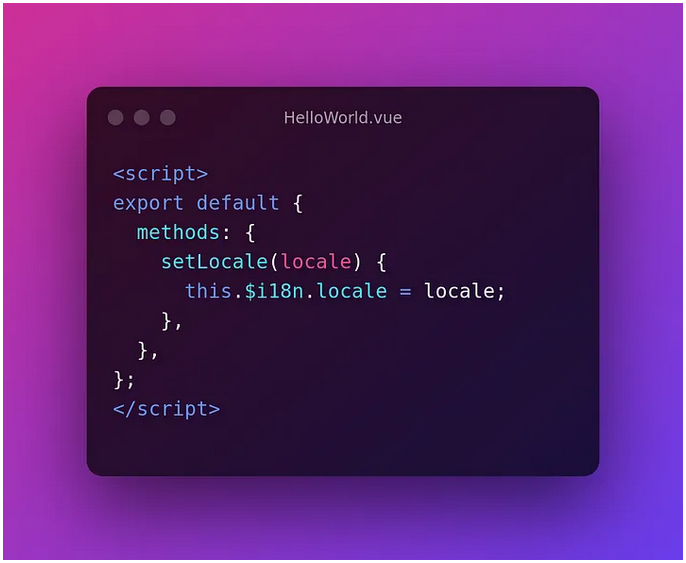
To implement the language switcher, we will first create a function inside the <script> tag, which will be responsible for assigning the desired translation file to the VueI18N global configuration variable. We pass the language name as a parameter to the function. This gives us the following function structure:
And in the HTML, we attach the function to a click event, passing the desired language as the parameter. It is crucial that the string passed exactly matches the language name configured in your main.js.
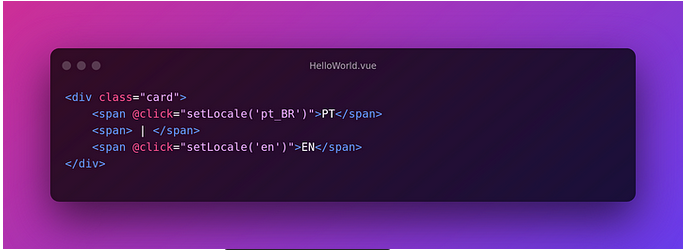
This way, when you click on one of the elements, the application will instantly switch to the specified language!
Bonus for portuguese speakers
If you happen to speak portuguese, this tutorial is also available in video form!